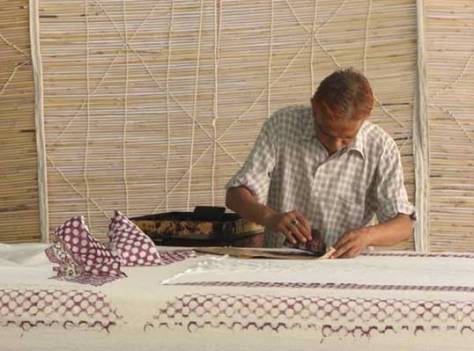
Have you ever seen a block printing table being made? Probably not. It’s a fairly infrequent process. So when Anokhi block printers, Shariff and Vasik, decided to repair one, we followed them for a rare peek.
First, some printing table history. Traditionally the printer or chhipa stamped cloth at a pathiya, a small rectangular table sitting low to the ground and made of stone or wood. Several layers of coarse cotton fabric covered the top for a durable padded surface. Seated on the floor, the chhipa slowly guided the length of fabric across the table while constantly smoothing any creases.
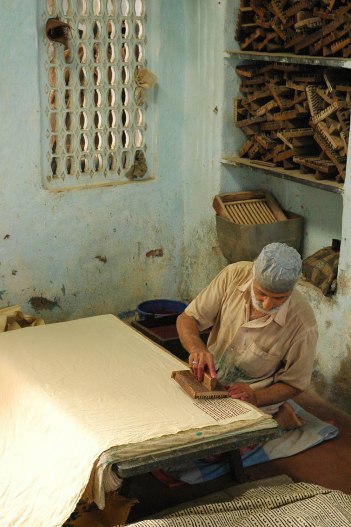
Today pathiyas have largely been replaced by longer, wider and higher tables, enabling a standing artisan to meet modern-day production needs for increased speed and volume.

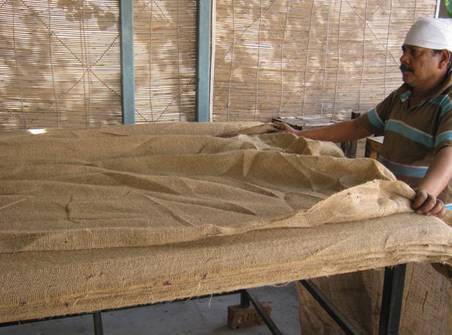
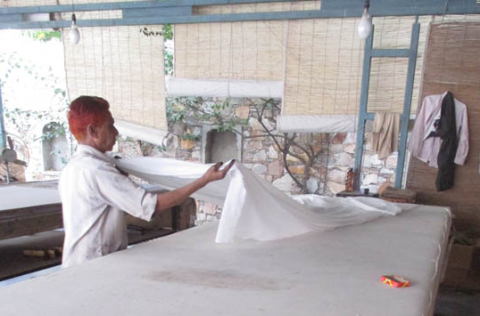
According to Shariff and Vasik, padding needs annual refreshing to retain the ‘springiness’. Without a certain amount of bounce, printing quality is sacrificed and, worse, the uneven surface can damage the printer’s hands.
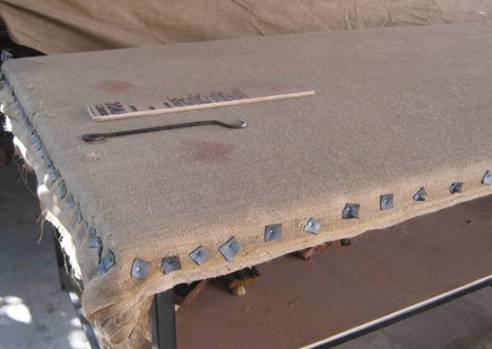
Then there is the question of sand. Over time, in a desert region like Rajasthan, sand pockets accumulate inside the table padding creating a lumpy surface recognisable by dark or light patchiness across the printed cloth. The uppermost layer of padding or achara requires regular washing followed by drying, perhaps in a field or along a dusty road where sand again accumulates. Adequate shaking out is necessary before re-application. Even then, dust constantly settles on the table, working its way through the layers creating a never-ending saga.

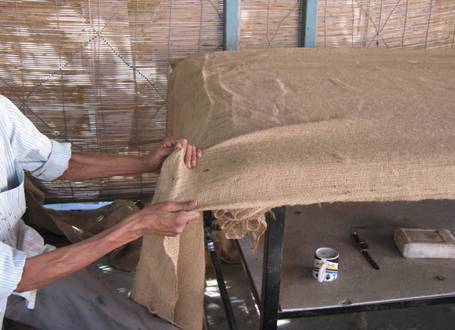
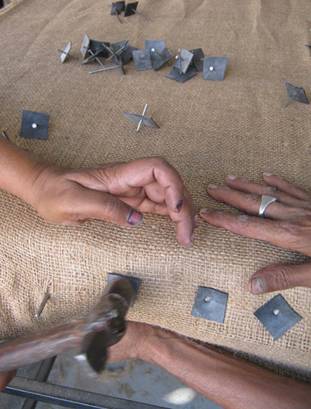
Can most printers re-pad a table? With a knowing grin, Shariff answered, ‘The older ones like us know how to and the younger ones learn with time, but none of them actually want to do the work. They would happily do it if they were paid extra! Some of them say that pulling and fixing the coarse jute cloth hurts their hands for printing.’
Here’s how it’s done…

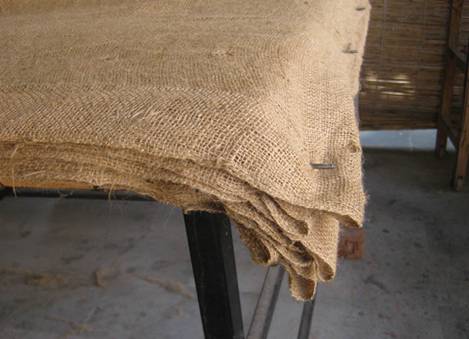
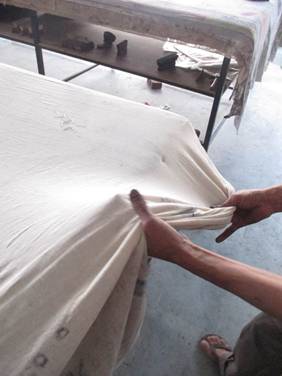
artisans can repeatedly wash this protective fabric as layers of dye build-up.
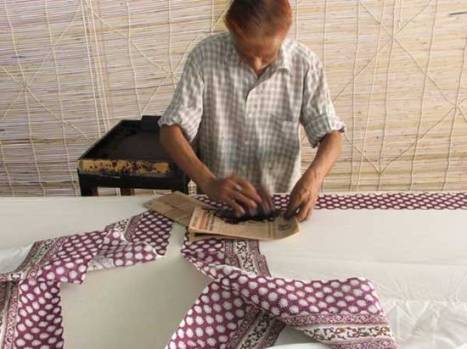
Properly created, these padded tables are a ‘secret ingredient’ needed for block printing handmade cloth.
Text: Rachel Bracken-Singh & Suki Skidmore
Photos: AMHP Archives

One thought on “The Humble Printing Table!”